Adding images in WordPress is simple. The WordPress block editor provides 4 different blocks you can use to insert images.
These blocks are shown below:
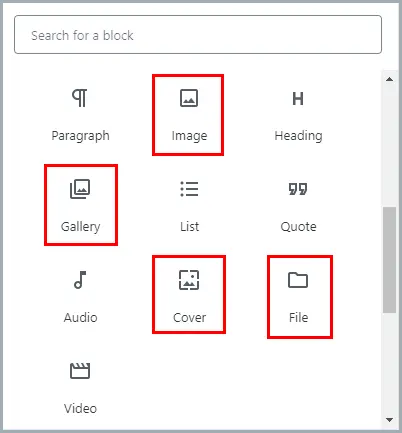
I’ll show you how you can add images in Gutenberg with each block.
Adding An Image With The Image Block #
The most common way of adding images is by using the image block. With this block, you can insert a single image into your post/page.
WordPress makes it insanely easier by allowing drag and drop image upload. Just drag the image from your desktop and it will be uploaded instantly.
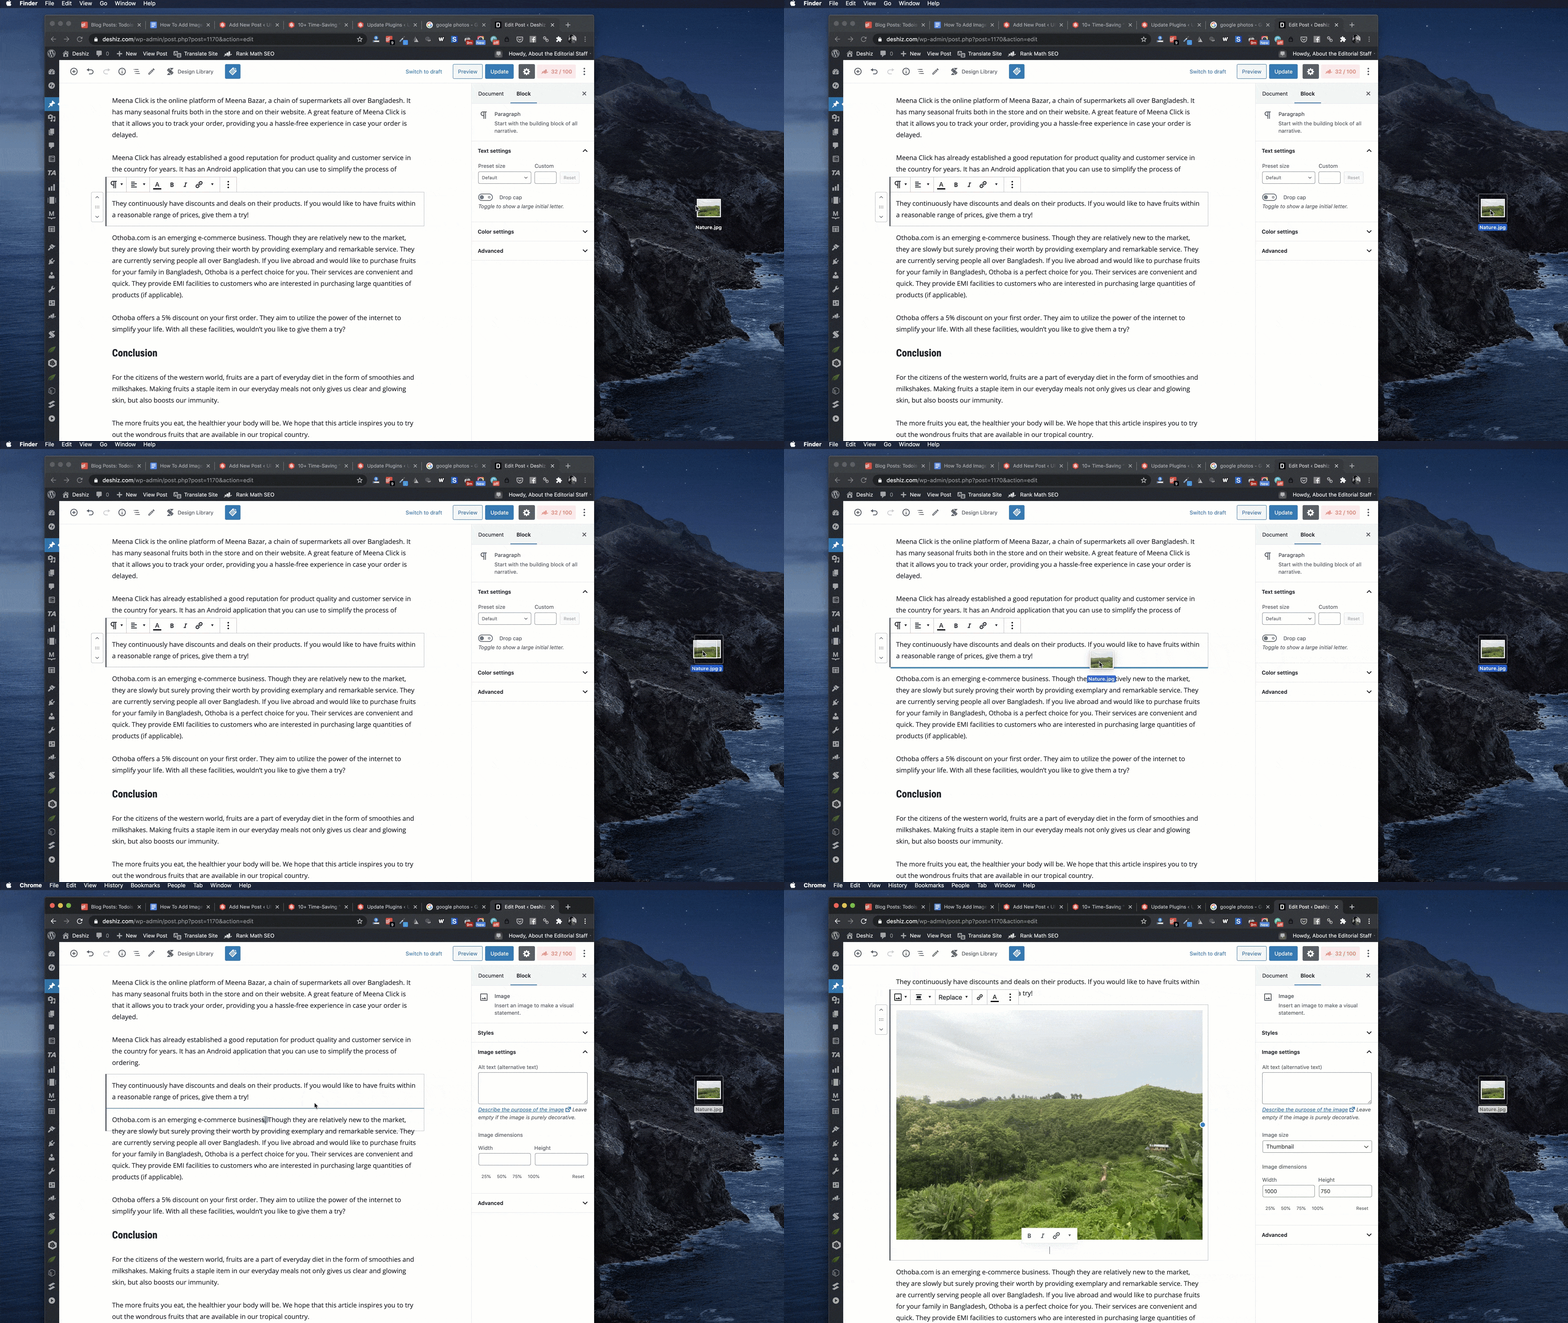
Now let’s see how to use the image block.
Just type ‘/’ following ima…. and insert the image block.
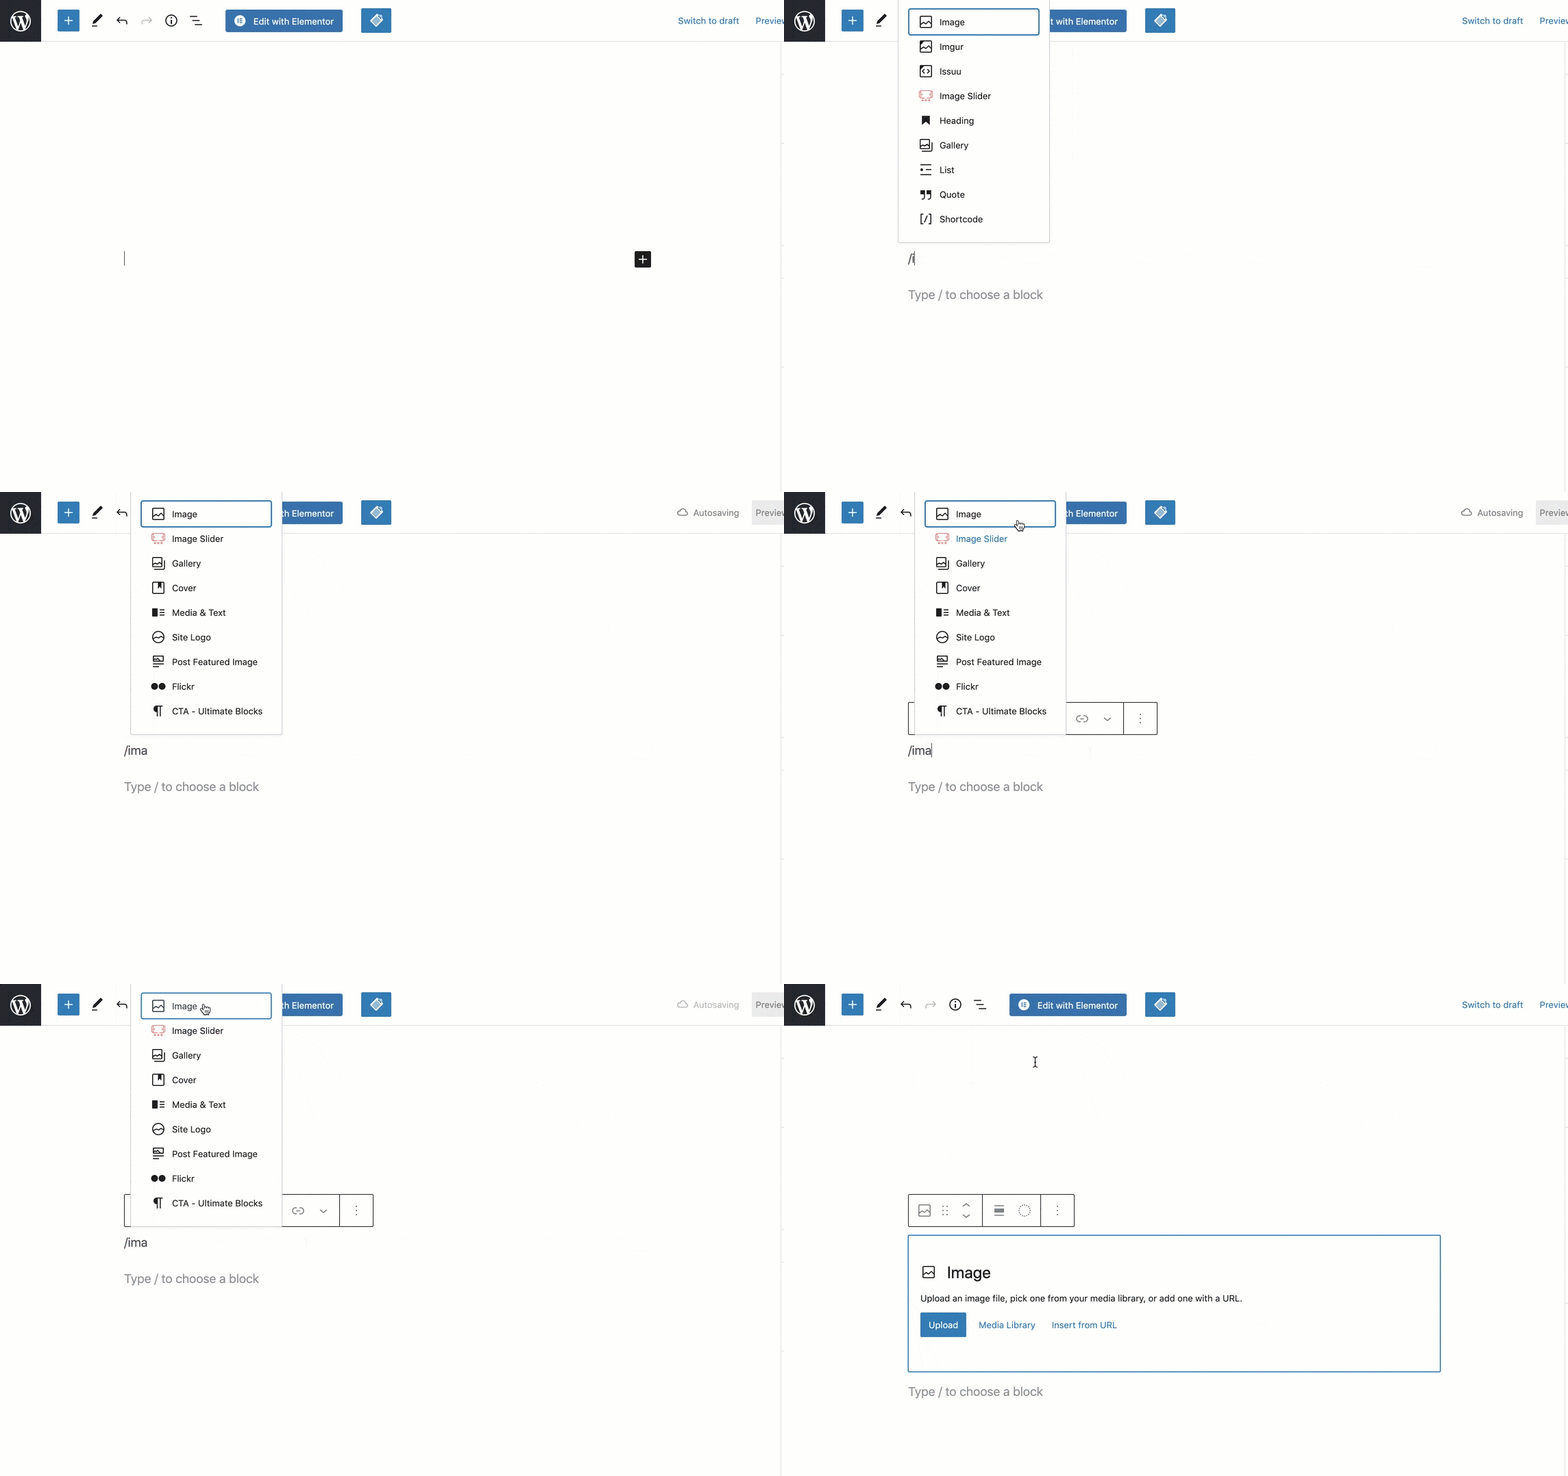
Once you insert the block into your post/page, you’ll see 3 options.
You can either upload an image or choose the image from your WordPress media library. You can also insert an image from a URL.

If you want to upload an image from your computer, click on the ‘Upload’ button and then choose the image and click on ‘Open’.
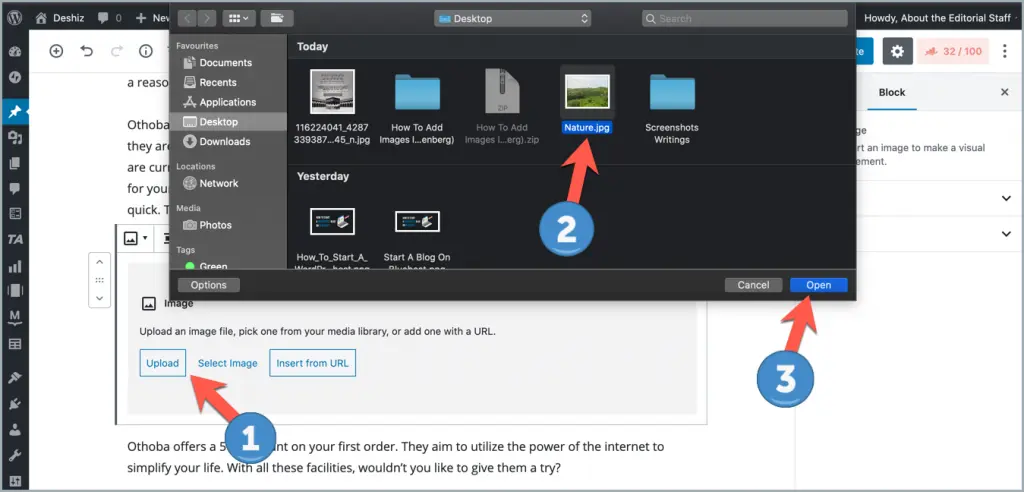
It will be uploaded and added to your content.
If you want to add an image from your WordPress media library, click on the ‘Media Library’ button, and select the image. In case of ‘Insert from URL’, simply enter the image URL on the box.
Adding Images Using The Gallery Block #
You can insert images using the Gallery Block in Gutenberg as well. With this block, you can add multiple images to your post/page.
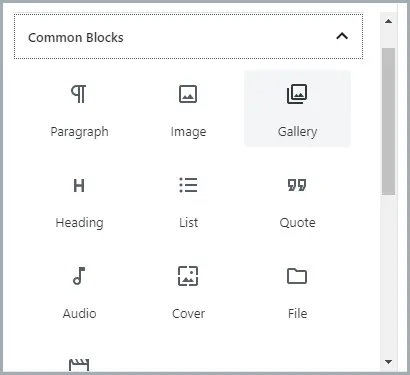
The process of adding images using the Gallery block is the same as the Image block. You can upload images to the gallery or select the images from the library.
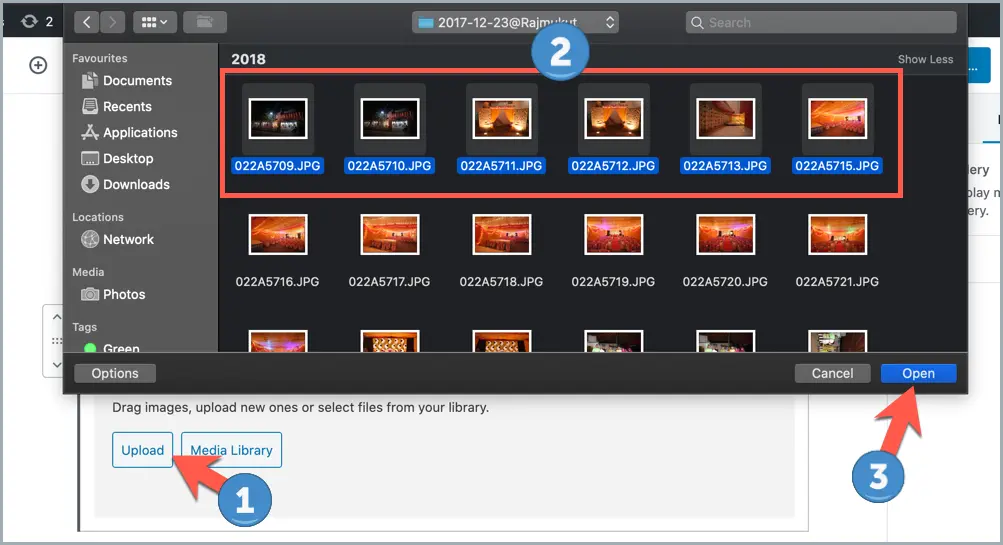
Tip: To select multiple images on Mac, press and hold the Command key and then click the images. In the case of Windows, press and hold the Ctrl key.
Adding A Cover Image In WordPress #
The Cover Image block lets you add an image that can have a title and a description on top of it.
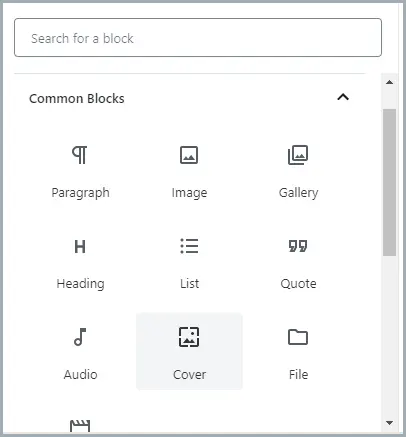
You can use this block in cases where you want to offer a rich visual experience to your readers.
Adding An Image With Text Using ‘Media & Text’ Block #
If you want to have some text right next to the image, you can use the Media & Text block.
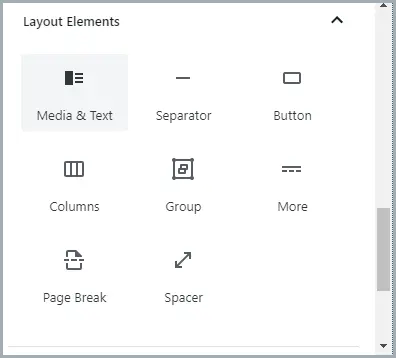
With this block, you can add an image and content in a 2 column format as shown below (with added background color):

Here is content on the right side.
How To Align An Image #
Once you’ve added your image to your post/page, you have to align it. Aligning images in Gutenberg is very simple.
Click on the 2nd icon from the left to align the image. A menu will drop down showing you the different alignment options you can choose from.
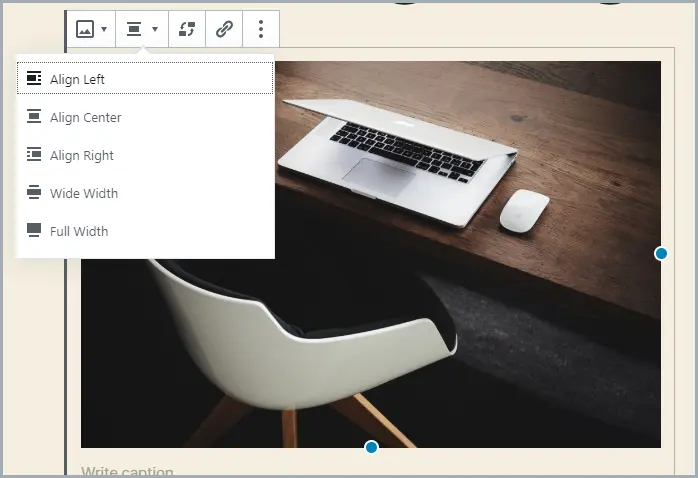
Here are the alignment options you can choose from:
- Align Left
- Align Center
- Align Right
- Wide Width
- Full Width
How To Replace An Image #
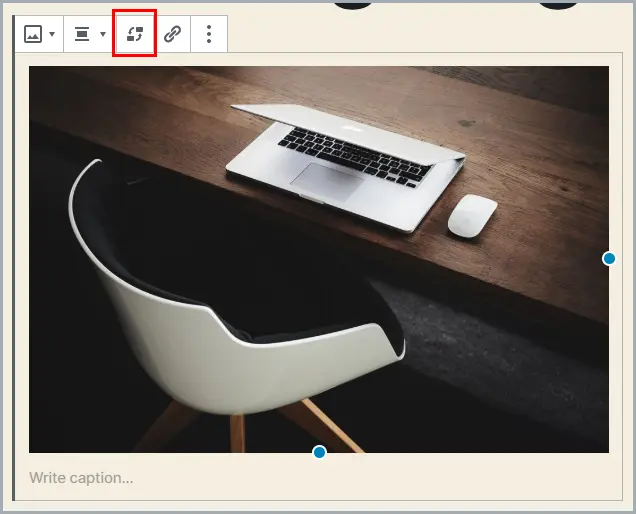
Don’t like the image you just added? Well, you can replace it with a click. Instead of deleting the image block and adding it again, you can simply click on the replace icon shown below:
Adding or replacing background images #
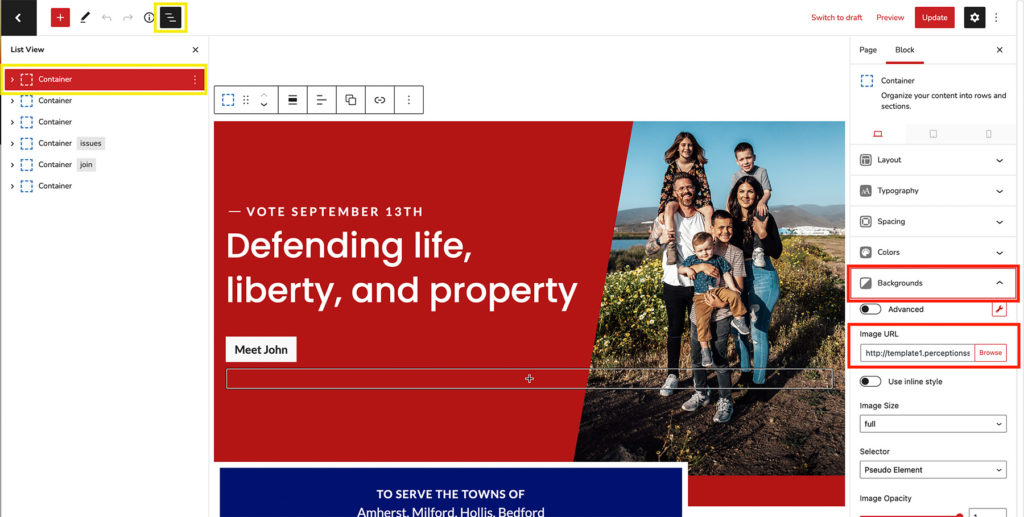
In some Perceptions Sites templates, images are added as background images on a container. To replace the image, select the container block. (Note: To easily do this, you may want to click the “list view” icon to see a list of all the blocks on the page.) Then in the block options, open the “Background” controls and under “Image URL” you can click the “browse” button to upload another image or choose an image you already uploaded to the media library.
